WHAT TO DO WHEN RENOVATING YOUR BATHROOM
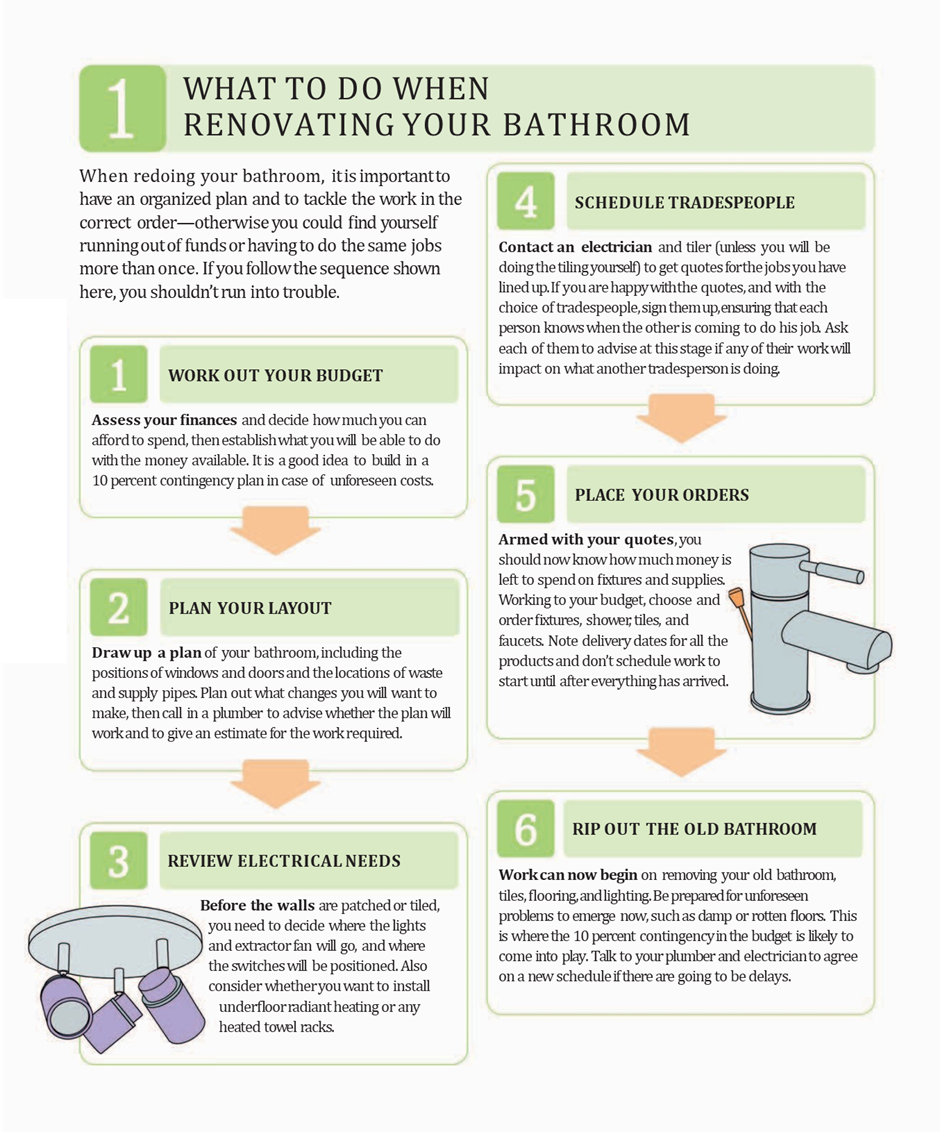
When redoing your bathroom, it
is important to have an organized plan and
to tackle the work in the correct order—otherwise, you could find yourself running out of funds
or having to do the same jobs more than once.
If you follow the sequence shown here, you
shouldn’t run into trouble.
1. WORK OUT
YOUR BUDGET
Assess your finances and decide
how much you can afford to spend, then establish
what you will be able to do with the money
available. It is a good idea to build in a 10 per cent contingency plan in case of unforeseen costs.
2. PLAN YOUR
LAYOUT
Draw up a plan of your
bathroom, including the positions of windows
and doors and the locations of waste and
supply pipes. Plan out what changes you will want to make, then call in a plumber to advise whether
the plan will work and to give an estimate
for the work required.
3. REVIEW
ELECTRICAL NEEDS
Before the walls are patched
or tiled, you need to decide where the lights and extractor fan will go, and where the switches will be positioned. Also, consider whether you want to install underfloor
radiant heating or any heated towel racks.
4. SCHEDULE
TRADESPEOPLE
Contact an electrician and tiler
(unless you will be doing the tiling yourself)
to get quotes for the jobs you have lined
up. If you are happy with the quotes, and with the choice of tradespeople, sign them up, ensuring
that each person knows when the other is
coming to do his job. Ask each of them to
advise at this stage if any of their work will impact what another tradesperson is doing.
5. PLACE
YOUR ORDERS
Armed with your quotes, you should now know how much money is left to spend on fixtures and supplies. Working to your budget, choose and order fixtures, shower, tiles, and faucets. Note delivery dates for all the products and don’t schedule work to start until after everything has arrived.
6. RIP OUT
THE OLD BATHROOM
Work can now begin on removing
your old bathroom, tiles, flooring, and
lighting. Be prepared for unforeseen problems
to emerge now, such as damp or rotten floors. This is where the 10 per cent contingency in the budget
is likely to come into play. Talk to your
plumber and electrician to agree on a new
schedule if there are going to be delayed.
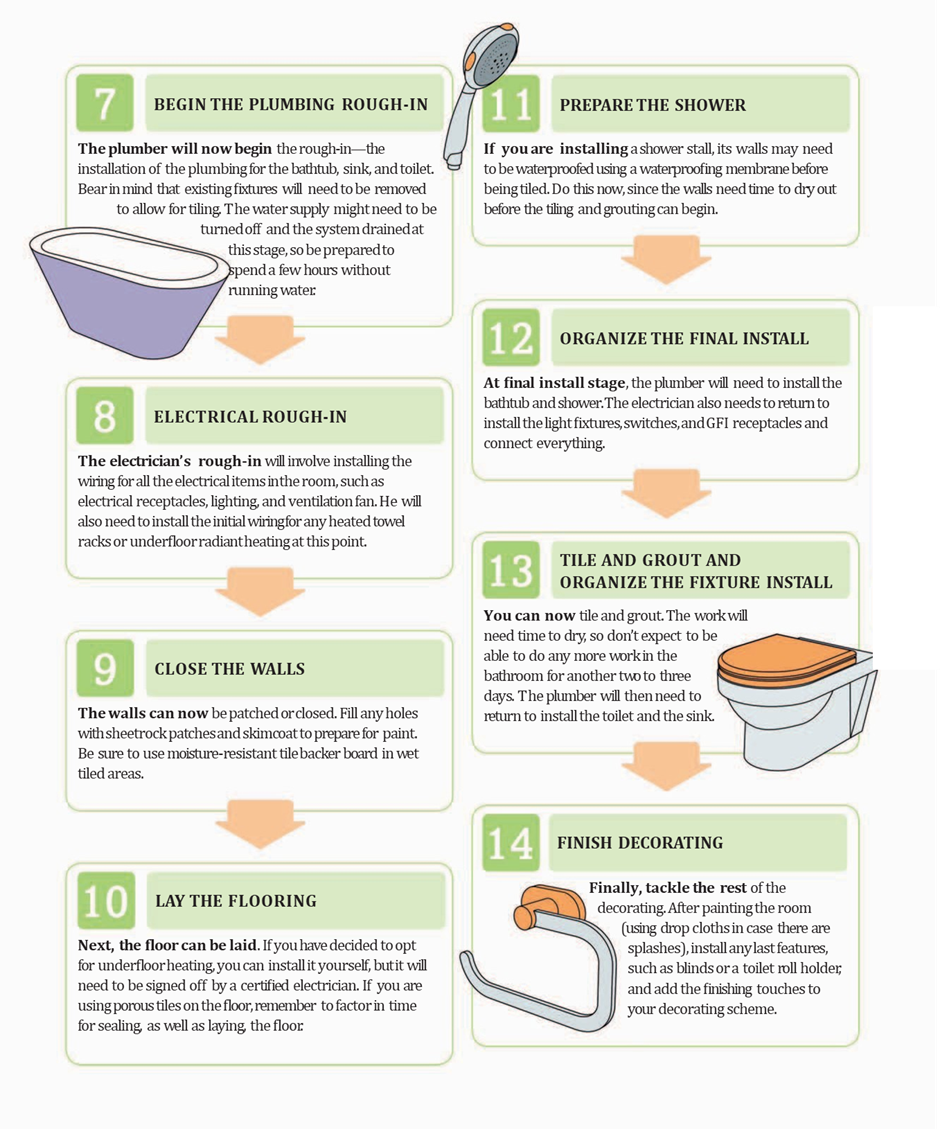
7. BEGIN THE
PLUMBING ROUGH-IN
The plumber will now begin the rough-in—the installation of the plumbing for the bathtub,
sink, and toilet. Bear in mind that existing fixtures will need to be removed to allow for tiling. The water supply might need
to be turned off and the system drained at this stage, so be prepared to spend a few hours without running water.
8. ELECTRICAL
ROUGH-IN
The electrician’s rough-in will involve
installing the wiring for all the electrical
items in the room, such as electrical receptacles,
lighting, and ventilation fan. He will also
need to install the initial wiring for any heated towel racks or underfloor radiant heating at this point.
9. CLOSE THE
WALLS
The walls can now be
patched or closed. Fill any holes with sheetrock
patches and skimcoat to prepare for paint. Be sure to use moisture-resistant tile backer board
in wet tiled areas.
10. LAY THE
FLOORING
Next, the floor can be laid. If you
have decided to opt for underfloor heating,
you can install it yourself, but it will need to be signed off by a certified electrician. If you are using porous tiles on the floor, remember to factor in time for sealing, as well as laying, the floor.
11. PREPARE
THE SHOWER
If you are installing a shower
stall, its walls may need to be waterproofed
using a waterproofing membrane before being
tiled. Do this now, since the walls need time to dry out before the tiling and grouting can begin.
12. ORGANIZE
THE FINAL INSTALL
At the final install stage, the plumber
will need to install the bathtub and shower.
The electrician also needs to return to install
the light fixtures, switches, and GFI receptacles and connect everything.
13. TILE AND
GROUT AND ORGANIZE THE FIXTURE INSTALL
You can now tile and grout. The work
will need time to dry, so don’t expect to
be able to do any more work in the bathroom
for another two to three days. The plumber
will then need to return to install the toilet
and the sink.
14. FINISH
DECORATING
Finally, tackle the rest of the decorating. After painting the room (using
drop cloths in case there are splashes),
install any last features, such as blinds
or a toilet roll holder, and add the finishing
touches to your decorating scheme.


No comments:
Post a Comment